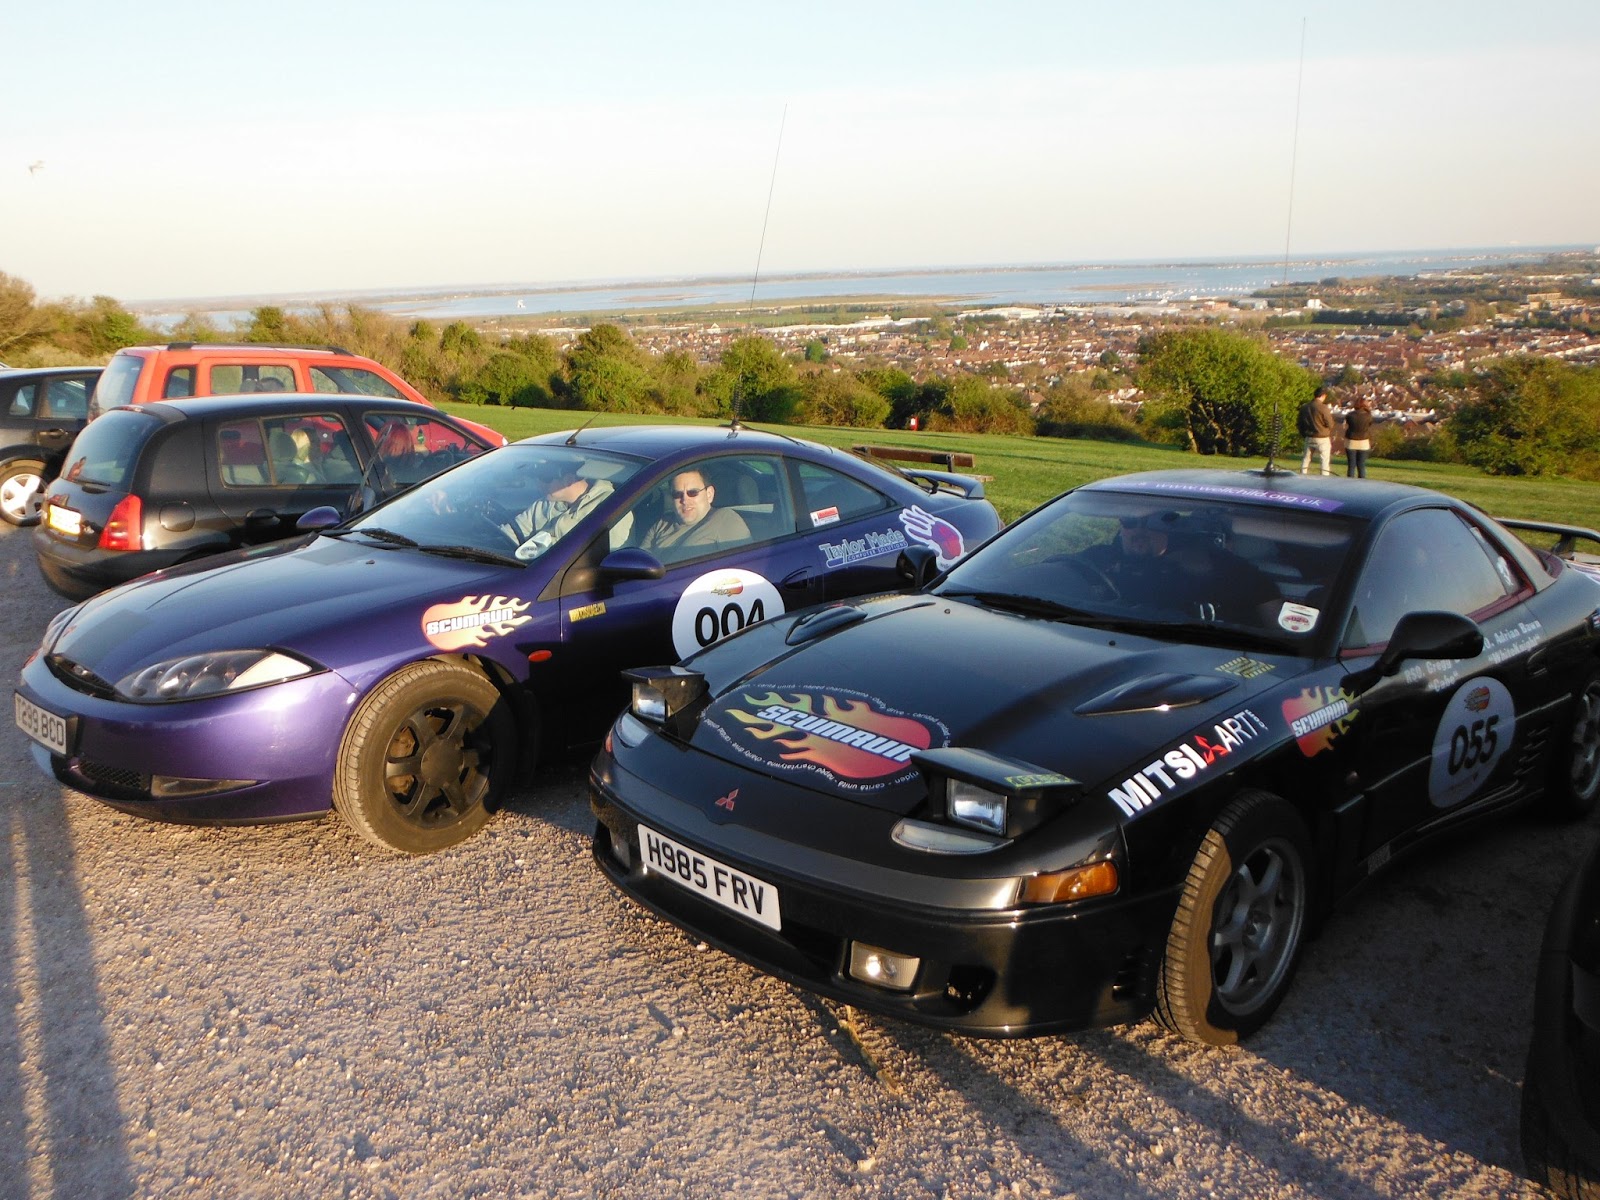
Wednesday, May 01, 2013

And the intrepid adventurers start their epic voyage...

Its that time, time for a run, a SCUM run....


... well not quite yet.. maybe tomorrow.


But for now we head to the Ramada Hotel Dover, for a good nights sleep before the chaos begins.
A quick bite to eat at Micks monster burger on Portsdown hill  before we set off  !

Final fettling, what could possebly go wrong......


Finishing touches are applied to the sled, like locking wheel nuts.
I like those alloys, I suspect some continental scallywags would too!

Nothing like close to the wire, passenger seat gets its extension brackets.

That's where I left the crimps! We also found 20p under the seat too. Get in!

Busy day at MitsiArt, glad Paul could fit us in.

I dearly want that Starion, it's a minter. 
Say hello to our little friend, Seymore! Team Skunkworks 3rd member.

Seymore approves of the Starion also :)

All stuck up

With the car almost complete, its time to finish the look by adding a few final stickers.  See below for pics:

Technically this is supposed to go on the window, but it would foul on the wipers, so this will have to do.

Test fitting the stickers

Some on the rear

The URL for the website and the blog.

The final look of the spoiler

Commemorating the trip to north Wales :)

... Not yet anyway ...
Rear quarter...
And the final livery
Now she just needs a clean and we are ready to roll...

An illuminating experience

Being 22 years old, the GTOs headlights leave something to be desired.  Having owned a Japanese sports car in the past (an MR2) I had a spare set of H4 ultra bright headlight bulbs just kicking around in the shed going to waste.  So we figured it was a good idea to up-rate the lights.  Simple enough job.  On the MR2 it was just a few screws and a plastic cover, and you were job done...  not so with Mitsubishi....

A quick Google revealed that the process is somewhat more involved due to the way they designed the headlight system.  First you remove the bonnet plate (the bit you see when the lamps are retracted) then you remove all the plastic covering, then undo a few bolts, then reach around the back to unplug the power, THEN you pull the bulb out.

Still a fairly simple process.  Or it would be if ALL the bolts weren't rusted shut. I spent the better part of an hour wrangling the bolts on the left lamp before they started to budge, and even then it was hard going.

I got the cover off and got to the point of pulling the glass part out to get to the actual bulb.  The little brass screws are seized.  They WILL NOT budge.  At all.  In an effort to "circumvent the system" I even tried removing the whole light cluster.... no dice.

So I reassembled everything.  Maybe we will stick with the stock bulbs after all... lol

This does present the obvious issue that if a bulb goes while we are away we are pretty stuffed.  There is very little we can do about that now though.  And if I hadn't tried to change the bulb pre-emptively we would have been stuck struggling with it on the side of an autobahn.  Now we know to not even bother.

Some pics below of the nightmare.

The offending article (although the rig one wasn't any better)

Some of the many rusted bolts.  These were the ones i managed to free without sheering off.

The hole from whence it came.  Managed to get it all back in and aligned close enough.

More loud was required

So those of you who have been near the car while its running may appreciate the irony of this post, but we decided the car required more noise :)

A trip to Sextons in Portsmouth saw Gregg impulse purchasing a full set of Hertz co-axial speakers.  6" x 9" for the rears (with a decent bass response) and 6.5" for the fronts.

This was a significant improvement on the current setup of "none".  The car came with no door, or dashboard speakers, and the rears were terribly fitted so a full replacement has resulted in much rejoicing of our ears.   Rejoicing or bleeding... not sure.  But there is sound, and there is a lot of it :)

See below for some pics of the installation.

Getting the door cards off and on was a challenge unto itself, but once off
access to all the gubbins was simple enough

The speaker mounts

When ISN'T a power driver a good idea ?

Do not adjust your set.  The Gregg is just wonky.,.. (no change there)

And now a word from our sponsors......

Wow what a crazy couple of days...   A few weeks ago I was worried we wouldn't make the £500 we were originally aiming for... and now we are rapidly catching up on £1500 !  Madness.

So by way of thanks here is a quick run down of our 3 major sponsors:


Thank you so much for all of your support, and we couldn't have managed this without all of your help.


Monday, April 22, 2013

Cruise on down the highway

One of the issues with the GTO from day one was the fact that the cruise control appeared to be faulty.  I managed to get it working once, but that was it.

Paul over at MitsiArt thought it might be the air pump.  It works on suction to hold the speed (no idea how... lol)  and if the pump isn't pumping then no suction.  The problem with this was that a replacement new unit, if we could find one, would likely run us a significant cost.  Not something we really wanted to do for a non-critical system.  So that was that.

Then, the other day, after a bit of surfing, I came across a "genuine working cruise control pump, cables, and actuator" for just over £20.  Bam !  Buy it now, shipped and delivered...

The unit arrived today and was a pretty crazy mess of components, tubes, and bowden cables, so I set about installing it on to the car...  pics below

The box, direct from ebay
The compressor removed from the rest of the system
Before: note the proximity to the aircon pipes at the box :(
The actual unit comprises of several parts.  The pump (the broken bit), the actuator, and the pulleys (the bits in the box with the 3 pipes going into it), and the hoses and cables that link it all together..  The pump is mounted to the bottom of the pulley box so to get at it you have to basically pull it all out.

This is easier said than done as it is mounted in such a way that its butted up against the solid aircon pipes which are mounted in place.  Still, a bit of fiddling and swearing got it loose without affecting the A/C and it was a 2 minute job to swap the pump over.   

When returning the unit to its mounting place, I decided that it would be better to route the cables the other side this time so that its easier to get everything in / out if required.

After.... nothing spectacular has change really...
Except the cable mounts for the pump and the power steering reservoir sensor 

 Total job time, less than 30 minutes (including prep and clean up), and about 20 quid in parts.   Job done !  :)